


Destiny 2 Leviathan Raid Guide
In this Destiny 2 Leviathan Raid Guide we will cover every zone and area and how to properly finish them ! Although it might take several tries even after reading the details on each section, the awards are well worth it ! So without any delay, lets dig in !
The Courtyard
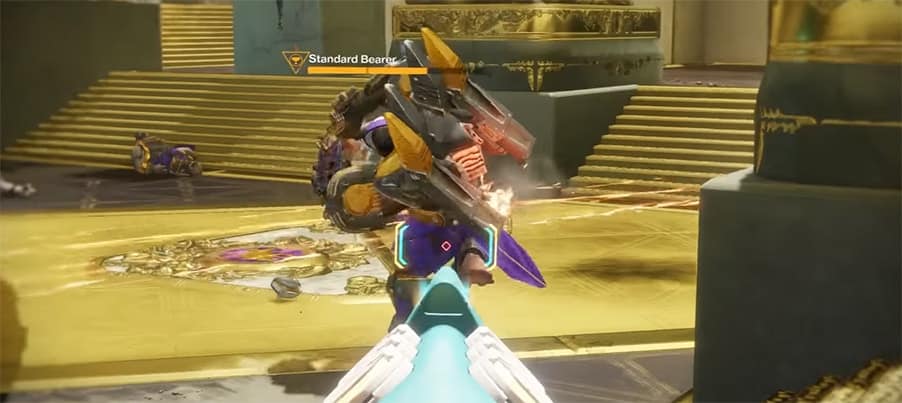
Castellum – the first area covered in this Leviathan Raid Guide. Although a raiding party consist of 6 players, it is best to split in groups of 3. One group hunts for the banners by killing the Standard Bearer, while the 2nd group defends the area where you need to place them. Don’t underestimate the enemies, placing the banners in the area is pointless if there is nobody to defend it !
Royal Pools – Stop The Bathing Ritual
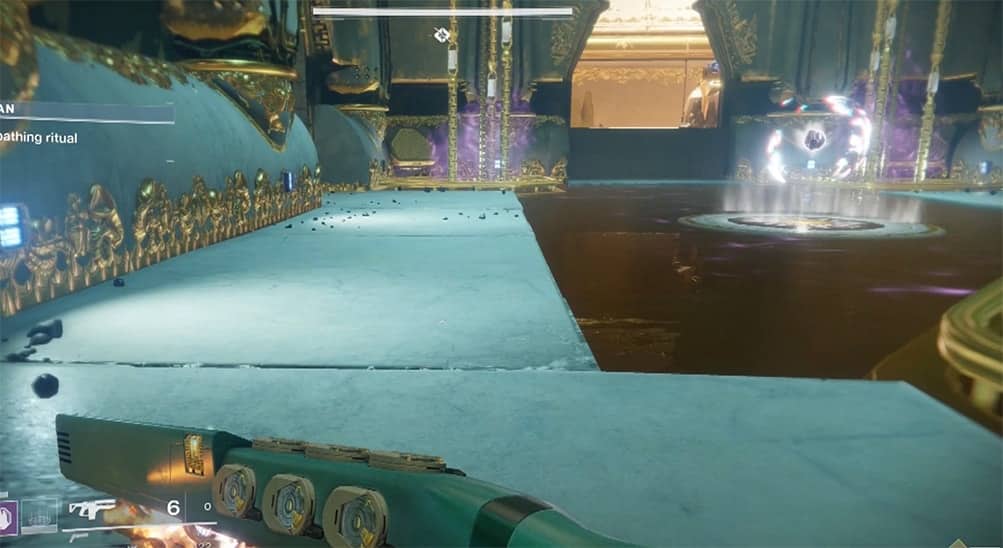
The 2nd area we cover in this Leviathan Raid Guide is entering the Royal Pools. At the entrance you will notice a large platform with a glowing orb surrounded by dark liquid. Careful, stepping into the dark pool will drain your health significantly. You need 4 teammates to jump and stand on the other 4 platforms, each with a glowing orb on top of them. Collect the orbs granting you psionic protection, which prevents taking damage from the black water. Hold down the platforms while your immunity lasts and watch out on the timer. The first protection gained from the platform will not be enough to lower the chains. Head on to the next area – the middle platform where you will find your next orb and extend your protection, then head back to the previous area and continue shooting at anything that comes your way.
Always have someone at the previous area where the chains are going down, if are is left unattended the chains will start to go up again. Have two teams of 3 man covering both orbs. Rotate between the two as your protection expires till you finish the event. Once you’ve held all 4 platforms the final phase will open. Head over to the middle zone again, get the middle orb which will enable you to shoot down the violet hanging objects, and finally finish the event.
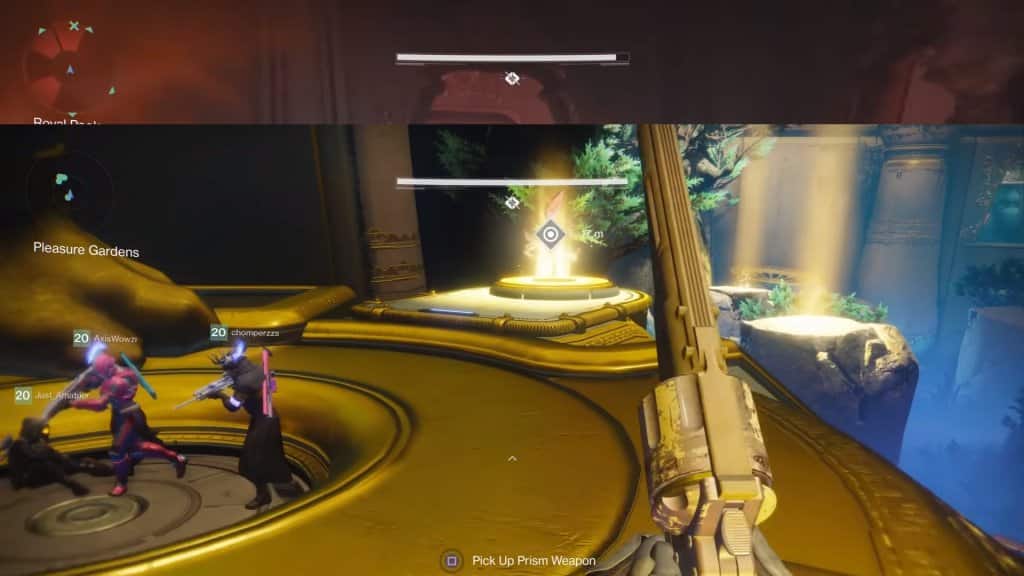
Pleasure Gardens – Survive the Hunt
Entering this area you will encounter a lot of enemies, both on the rocks above, and in the area bellow. Kill everything to start the event. Collect the yellow gems – they are powerful prism weapons which can be used to shoot enemies down ! Two of your teammates should pickup prism weapons, while the other 4 go down bellow and pickup the spores. The team bellow should be careful with the beasts, try to sneak around them by crunch walking, once a spore spawns your teammates on top will shot down the spore with the yellow gem while the team of 4 collects them. Make sure all 4 get the spore buff, after getting 12 empowering spore buffs hunt down the beasts and kill them. In the next phase try to get more than 12, although 36 is optimal, always aim to get as much as you can ! Remember the war beasts get restless much sooner as you progress in the additional phases.
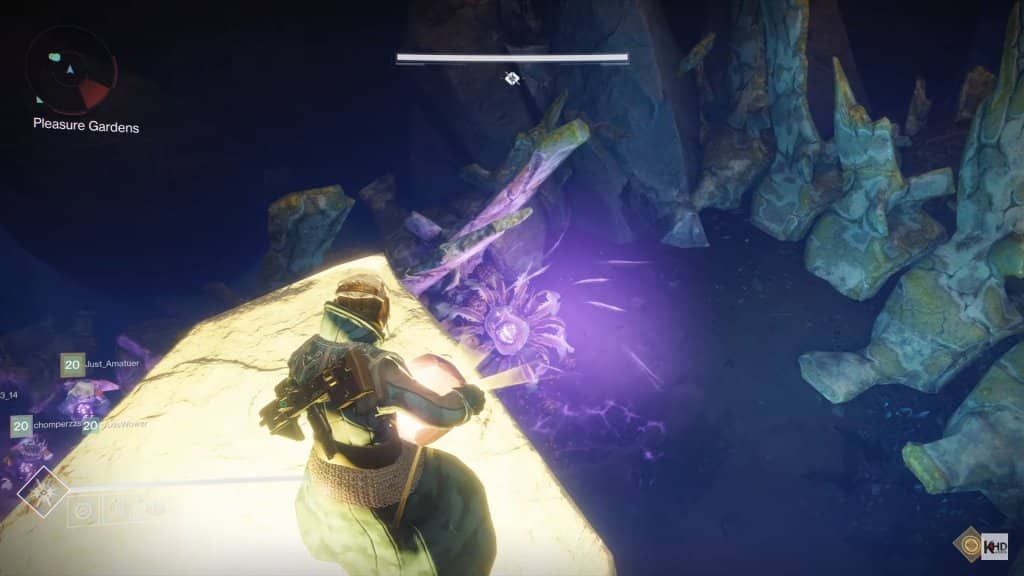
The important thing to watch out for is killing as much war beasts as you can in the first few phases. You should have enough time to gather as much spores as possible as the beasts will not grow restless as fast as they will in the later stages.
The Gauntlet – Prove your worth
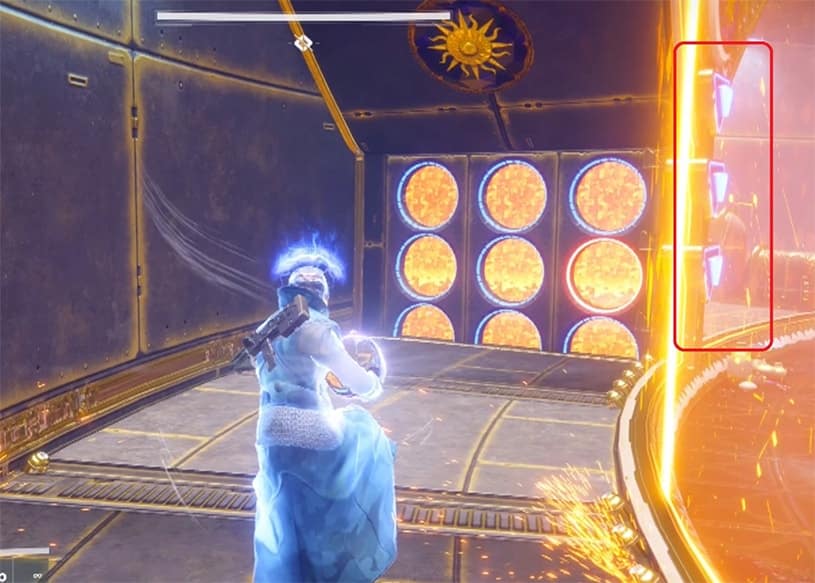
For your third encounter head back to the Castellum and open the door on the right. This is the last encounter before the boss battle. Have four of your men stand on the elevated platforms. Kill the enemy spawns and gather the orbs that will teleport you to a new arena. This where the tricky part is. You need to have your teammates shoot down the downward pointing arrows as one of you progress through the new area. If the arrows remain your teammate will not be able to finish the event, which must be done with perfect communication. The runner ( player in the arena ) need to tell the team what arrow the rest of the team need to be shooting at, as the blocked areas in his track will swap at random every time he walks through one. Don’t shoot at the red ones, eg: The runner notices the middle circle being red, the fire squad should shoot the top and bottom arrows.
Don’t forget to collect the orbs as you run through, they will extend your timer and eventually enable you to finish the run. After finishing the run 3 times the final phase begins. Now all 6 players are doing the run, all the circles are open and everyone can get through, however there isn’t enough globes for everyone. Only 4 globes per ramp, but you only need 4 people to survive the run so it is pretty straight forward as long as you don’t miss an orb.

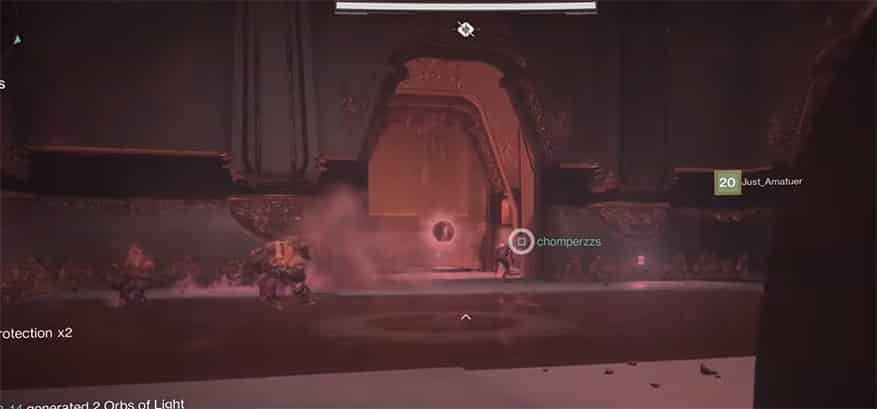
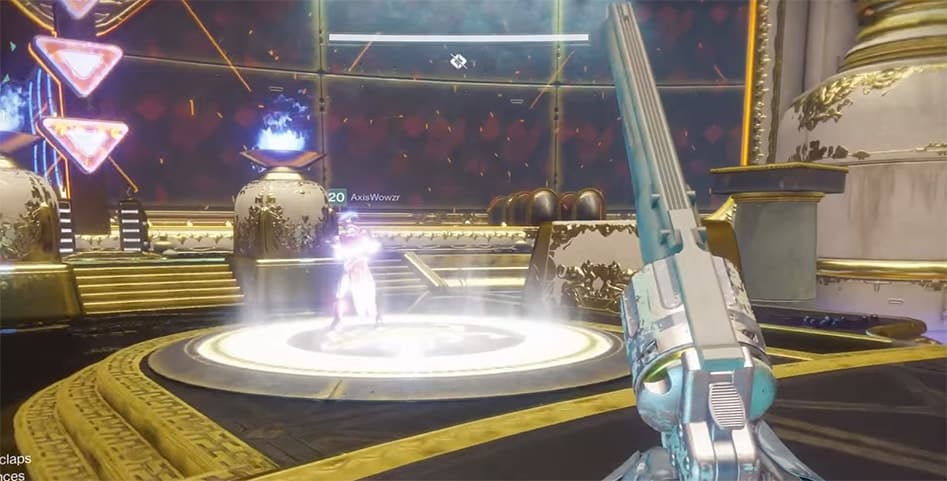
The final section of this Leviathan Raid Guide will cover defeating Emperor Calus. Starting the even is pretty straight forward, just shoot at his glass or go near him and kill every enemy that spawns afterwards. Be careful of Calus beam attack. Watch out for the 4 psions that are summoned after this, kill them with melle and pickup a power ammo and get ready for the next phase. You will be teleported to a new area and the first thing that you will notice is the huge cabal head in front of you. The important parts you need to watch out for is the three glowing orbs, similar to the ones you encountered in the previous events and a slightly elevated energy ramp


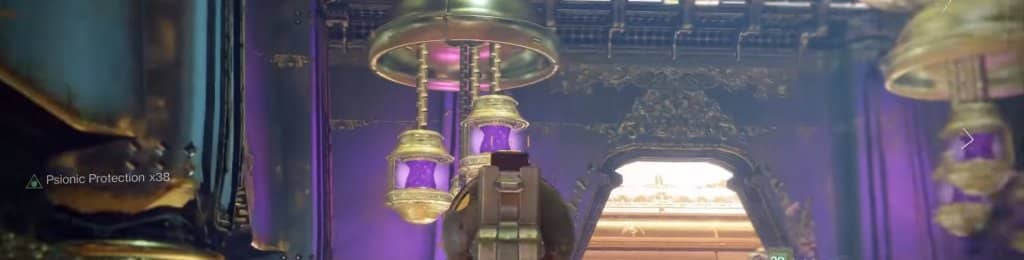
Again, the team needs to split, 3 of you will grab the orbs and get teleported back while 3 remain in this new area. The people going back have it pretty straight forward. Kill as many enemies as you can – that’s it 😀 The people that stay in the new cabal area will start getting sucked towards the giant head. If you jump – you die, if you hit the energy ramp and fly into the air – you die, going through a hole – die, getting blown up by a psion that spawms near you – you guessed it, you die 😀 Here you wanna position your self just ahead of the knee high energy ramp, crouching behind them is the only thing preventing you from flying into the fat cabal’s head. Here each player will see a different symbol at the top of the cabal head, i.e. one of you see a sun, another will see a dog and the third guy will see a chalice. Everyone need to communicate which symbol they saw, the one that didin’t appear is the one that 2nd team back in the first area need to shoot at, in this case being the cross axis.
After the 2nd ramp spawns kill all the psions and kill them fast, if you are late you will just die and have to restart the entire event. Prioritise them over the white ones in the buble, because if they get enough time they will blow up in the air.
Do this three times and the final stage starts where there are no more symbols to shout out for 😀 Skulls will start flying toward you from the cabals head, shoot as many as you can, they will provide significant damage buff so get ready to teleport back to the first area. Hop on one of the platforms and start unloading all you got, aim for head to maximize damage, if you don’t kill him in time he will just wipe the entire team and you have to do it all over again.
Here you can find a complete video on how the raid should go !
a
You need weapons that maximize single target damage. Merciless exotic fusion rifle does wonders here, for more info visit our exotic weapons review. After a certain amount of damage he will raise his hand, this is when you want to leave the platform and head over on the next one as a big solar explosion will occur right bellow you. After taking 1/3 of this health the emperor reveals himself to be a robot. Important thing to watch out for now is aiming for the chest, and not the head as this is his critical vulnerability point.
Now all the previous events repeat, 3 in the big cabala head area, shouting their throats out, 3 back home shooting at everything moving, and focusing the off sign. In the final stage just dance over from one platform to another until finally you dps him down to his last chunk of health.
Leviathan Raid Guide and Destiny 2 Leviathan Raid Guide- Brought to you by Destiny2Raiding.com


[…] your Leviathan Raid Boost, or read more about how to do each step in this Leviathan Raid Guide […]